
Ever taken a sip of your coffee only to notice a strange, bitter taste or a stale smell? It’s frustrating, right? Often, the problem isn’t the coffee beans—it’s your coffee maker. A dirty machine doesn’t just affect taste; it can also become a breeding ground for bacteria and mold. The good news? Cleaning a coffee maker is easier than you think. You don’t need expensive products or complicated steps. With a few common ingredients, you can keep your machine in top shape and enjoy fresh, flavorful coffee every day. This guide will walk you through the best way to clean coffee maker.

Why Cleaning Your Coffee Maker Is Essential
Your coffee maker isn’t just a machine—it’s a daily partner in your brewing ritual. But because it deals with water, heat, and coffee grounds every day, it naturally collects scale, residue, and bacteria. If you skip regular cleaning, you’ll face issues with taste, health, and even your machine’s lifespan. Here’s why keeping it clean is non-negotiable:
Health and Safety
The warm, damp environment inside a coffee maker is the perfect breeding ground for mold, yeast, and bacteria. Studies have found microorganisms like E. coli and Pseudomonas in nearly half of household coffee makers tested. While most healthy people may not get sick right away, these germs can still cause allergic reactions, digestive troubles, or infections—especially for those with weaker immune systems. Regular cleaning eliminates these risks and ensures every cup is safe.
Better-Tasting Coffee
Old coffee grounds leave behind oily residues that cling to the internal parts of your machine. Over time, these oils turn rancid, making your coffee taste bitter, stale, or metallic. On top of that, hard water deposits—mainly calcium and magnesium—cause limescale buildup on heating elements. This lowers brewing temperature, slows water flow, and leaves you with a weak, flat-tasting brew. Cleaning removes oils and descaling clears minerals, restoring the bold, rich flavor of your coffee.
Protects Your Machine
A dirty coffee maker isn’t just bad for taste and health—it’s tough on the machine itself. Mineral deposits and old residues force it to work harder, leading to clogs, malfunctions, or even breakdowns. Regular cleaning keeps everything running smoothly, prolongs the lifespan of your machine, and saves you from costly repairs or replacements.
In short, cleaning your coffee maker ensures better flavor, better health, and better performance. It’s not just maintenance—it’s the secret to consistently great coffee.
How Often Should You Clean a Coffee Maker?
The answer depends on how much you use the machine and the kind of water in your area. Still, here’s a simple routine to follow:
- Daily: Rinse and wash the carafe, filter basket, and any removable parts.
- Weekly: Wipe down the exterior and clean splashes or spills.
- Monthly: Descale the machine using vinegar, lemon juice, or a commercial descaler.
- As Needed: If the coffee tastes off or you notice a strange smell, do a deep clean right away.
Think of your coffee maker like your favorite mug—you wouldn’t use it for weeks without washing. The same logic applies here.
How to Clean a Coffee Maker with Vinegar: The Classic Method
Vinegar is the most common cleaning solution because it’s cheap, natural, widely available, and highly effective. It works by breaking down mineral deposits (also called scale) and killing bacteria.
What You Need:
- White vinegar
- Water
- Dish soap
- Soft cloth or sponge
Step-by-Step Instructions
1. Prepare the solution
Empty the water reservoir and carafe. Fill the reservoir with a 1:1 mixture of white vinegar and water. For a 12-cup coffee maker, this means 6 cups of vinegar and 6 cups of water.
2. Run a brewing cycle
Place an empty paper filter in the basket and run the coffee maker as usual. The vinegar solution will flush out mineral deposits and coffee residue from the internal parts.
3. Pause and soak
For stubborn buildup, pause halfway through the brewing cycle and let the vinegar sit in the reservoir and tubing for about an hour. This allows it to break down scale effectively.
4. Rinse thoroughly
Discard the vinegar solution. Run 2–3 cycles of plain water to rinse the coffee maker completely. Repeat if the vinegar smell remains.
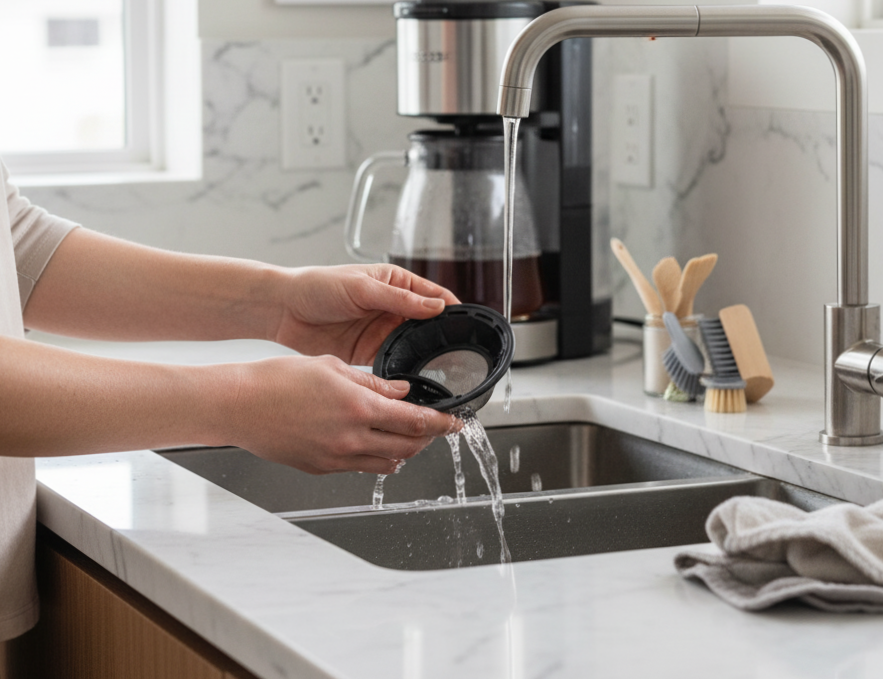
5.Clean removable parts
Wash the carafe, filter basket, and lids with warm, soapy water. Use a brush to scrub hard-to-reach areas.
This method not only removes limescale but also gets rid of stale coffee oils that can cause bitterness. For a long-term solution, remember that daily rinsing of the carafe and filter basket is essential to prevent buildup.
How to Clean a Coffee Maker Without Vinegar
Not everyone likes vinegar. Some dislike the smell, and some manufacturers even advise against using it. Luckily, there are other effective ways.
Option A: Lemon Juice
Lemon Juice is a natural, DIY solution that works well for descaling and smells great. It dissolves mineral deposits quickly without leaving a strong smell, making it a great option for regular maintenance. Mix equal parts lemon juice and water.
- Follow the same process as with vinegar: brew, pause, let it sit, then rinse with fresh water.
- It works well for descaling and leaves a fresher scent.
Option B: Baking Soda
While not as powerful for tackling heavy mineral buildup, baking soda is fantastic for deodorizing and light cleaning. It works best for removing stale coffee odors and light residue.
- Dissolve two tablespoons of baking soda in warm water.
- Pour into the reservoir and run a full brew cycle.
- Run two cycles of fresh water to rinse.
- This is great for deodorizing and light cleaning, though not as powerful as vinegar.
Option C: Commercial Descaler
For an easy and guaranteed solution, a commercial descaler is the best choice. These products are specifically formulated to safely and effectively clean your machine. They are highly effective, often odorless, and typically require just one brew cycle, making the process quicker and more efficient.
Simply follow the instructions on the package. These are especially recommended for espresso machines, high-end coffee makers, or when you want a guaranteed deep clean.
Choosing a method depends on your preference and the specific needs of your machine. Each option provides a great way to maintain your coffee maker for a fresher brew.
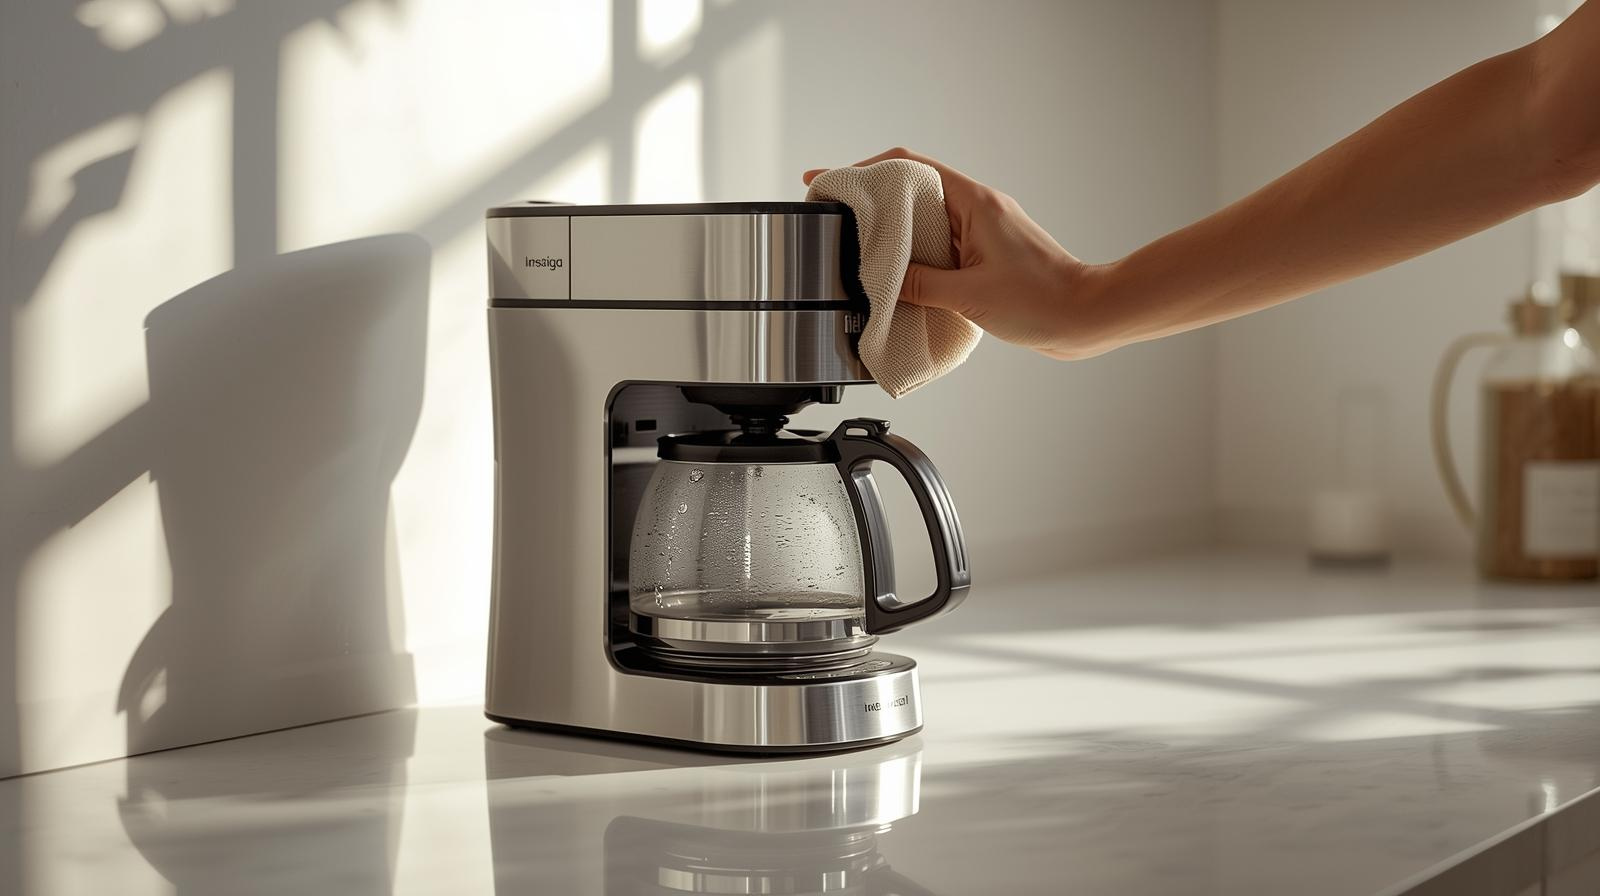
How to Clean Coffee Maker Exterior
The outside of your coffee maker deserves attention too, since it’s the part you see and touch every day. Dust, fingerprints, and coffee splashes can make the machine look dirty and even affect the buttons and display if left uncleaned. Regular exterior cleaning not only keeps your coffee maker looking new but also prevents sticky buildup that attracts dirt and bacteria.
To start, always unplug your coffee maker before cleaning. Dip a soft cloth or sponge into warm, soapy water and wring it out until it’s just damp. Gently wipe down the coffee maker’s exterior, including the sides, base, handle, and lid, to remove smudges and spills. For tricky spots around the buttons, seams, or display panel, use a cotton swab or a soft toothbrush dipped in soapy water to lift out grime without scratching the surface.
Once the cleaning is done, buff the exterior with a dry microfiber cloth. This helps prevent streaks and water spots, leaving your coffee maker shiny and polished. For stainless steel coffee makers, you can use a stainless steel-safe cleaner or a little white vinegar to remove fingerprints and restore a spotless finish.
By adding exterior cleaning to your weekly coffee maker maintenance routine, your machine will stay hygienic, look great on your countertop, and last longer without buildup damaging the buttons or display.
How to Deep Clean a Coffee Maker
Sometimes your machine needs more than just descaling. That’s where a full deep clean comes in.
Steps for Deep Cleaning:
- Disassemble all removable parts: carafe, filter basket, lid, and reservoir (if detachable).
- Wash them with warm, soapy water. Use a soft sponge to scrub away coffee oils.
- Use a toothbrush to clean small corners and spray heads.
- For stubborn stains, soak parts in a mixture of hot water and baking soda for 15–20 minutes.
- Descale the machine using vinegar, lemon juice, or a commercial descaler.
- Rinse everything thoroughly and let the parts air dry.
After a deep clean, your coffee maker will look and feel like new again.
Extra Tips for Keeping Your Coffee Maker Clean
Small habits can make a big difference. Here are some expert tips to keep your coffee maker in great shape:
- Use filtered water: It reduces mineral buildup and improves coffee flavor.
- Change charcoal filters regularly: If your machine has them, replace every 2–3 months.
- Keep the lid open: After brewing, leave the reservoir lid open for a while to let moisture evaporate. This prevents mold.
- Wipe as you go: Spills, splashes, and drips are easier to clean right away.
- Clean the grinder: If your machine has a built-in grinder, brush out old grounds weekly to avoid stale flavors.
- Schedule cleaning: Add it to your monthly routine so you don’t forget.
These small steps prevent problems before they start and save you from heavy scrubbing later.
Common Mistakes to Avoid
Even when people try to clean their machines, they sometimes make mistakes. Let’s clear up the most common ones:
- Using harsh cleaners: Avoid bleach or strong chemicals. They can damage the machine and leave harmful residues.
- Skipping rinses: After using vinegar or descaler, you must run at least two fresh water cycles. Otherwise, the coffee will taste sour.
- Ignoring hidden parts: Spray heads, needles (in pod machines), and steam wands often get missed. Clean them regularly.
- Washing with abrasive sponges: These scratch the surfaces and wear down protective coatings. Use soft cloths or non-scratch pads instead.
- Not cleaning often enough: Waiting months before cleaning leads to scale buildup, bitter taste, and even mold.
Avoiding these mistakes ensures your coffee tastes great and your machine lasts longer.

Frequently Asked Questions (FAQs)
Q1: Can I clean my coffee maker with just hot water?
Hot water helps rinse but doesn’t remove scale or coffee oils. You need vinegar, lemon juice, or a descaler for deep cleaning.
Q2: Is vinegar safe for all coffee machines?
Mostly yes, but some high-end espresso machines warn against it because it can damage seals. Always check the manufacturer’s instructions.
Q3: What if my coffee tastes bitter even after cleaning?
Make sure you rinsed thoroughly. If the taste persists, replace the charcoal filter (if your machine uses one) and clean the grinder.
Q4: How do I clean mold from my coffee maker?
Run a full cycle with vinegar or lemon juice, then scrub the reservoir with warm, soapy water. Rinse with fresh water cycles afterward.
Q5 Can I put coffee maker parts in the dishwasher?
Some carafes and baskets are dishwasher-safe, but always check your machine’s manual. When in doubt, wash by hand.
The Bottom Line
Cleaning your coffee maker isn’t just maintenance—it’s part of the brewing ritual. A clean machine guarantees better flavor, protects your health, and prolongs the life of your appliance. When it comes to brewing the perfect cup, taking care of your coffee maker is the first and most important step.